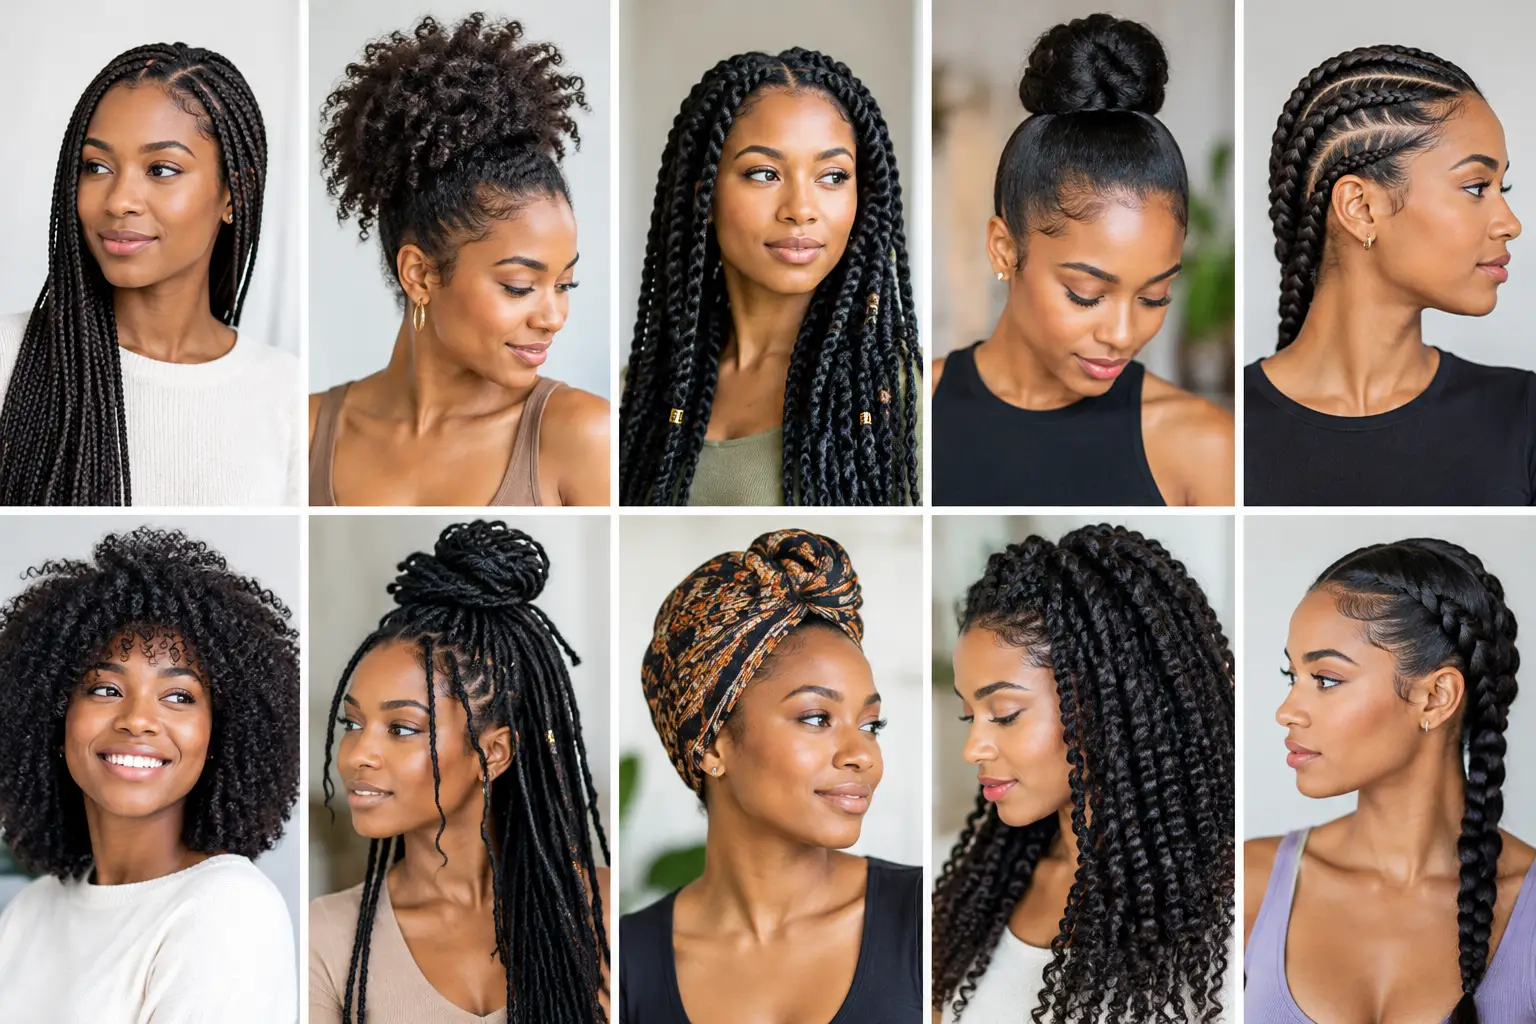

Find the best protective hairstyles for your texture, lifestyle, and comfort, with practical care tips for braids, wigs, twists, and low-tension looks.


A wig should come off as comfortably as it went on. Knowing how to remove wig adhesive patiently can protect your natural hairline, prevent unnecessary irritation, and help your lace wig stay beautiful for more wears. The biggest rule is simple: never pull a secured wig off dry, even if the adhesive is only holding in a few spots.
Give yourself enough time to do this without rushing. Adhesive is designed to hold through movement, warmth, and daily wear, so it needs to be broken down gradually. Pulling at the lace can stretch or tear it, while tugging at your own hair can cause breakage along a delicate hairline.
Start by checking the type of hold you used. Wig tape, liquid glue, adhesive spray, and gel-based products may each respond differently to removal products. If you still have the product packaging, follow its recommended remover first. A remover made for wig adhesive is usually the gentlest option because it is formulated to dissolve the bond while being kinder to skin and lace.
Before starting, gather a few basics:
If you have sensitive skin, test the remover on a small area of your skin before applying it around your hairline. Stop if you notice burning, swelling, a rash, or intense discomfort.
Begin at the side of your hairline, near an ear, rather than directly at the center of your forehead. Gently lift only the very edge of the lace with clean fingertips or the tail of a comb. Do not force it. If the lace will not lift easily, it means the bond has not softened enough yet.
Apply adhesive remover along the edge where the lace meets your skin. A cotton swab gives you better control than spraying remover freely around your face. Let the product sit for the amount of time indicated on its label, usually a few minutes.
Once the first edge starts to release, continue across the hairline in small sections. Apply remover, wait, then gently loosen the lace. Keep one hand supporting the wig as the other hand works on the adhesive. This prevents sudden tension on the cap and helps preserve the shape of the lace.
For a full lace, frontal, or closure install, take your time around the temples. Those areas often have the strongest hold and the finest natural hairs. If you feel resistance, add more remover rather than pulling harder.
After the front hairline is free, check the ear tabs, nape, and any areas secured with tape. Apply remover directly to each attachment point. If your wig is secured with adjustable straps, combs, or a wig grip band as well as adhesive, release those pieces before lifting the wig away completely.
Lift the wig off only when it moves freely. A properly loosened wig should slide away from the skin with very little effort.
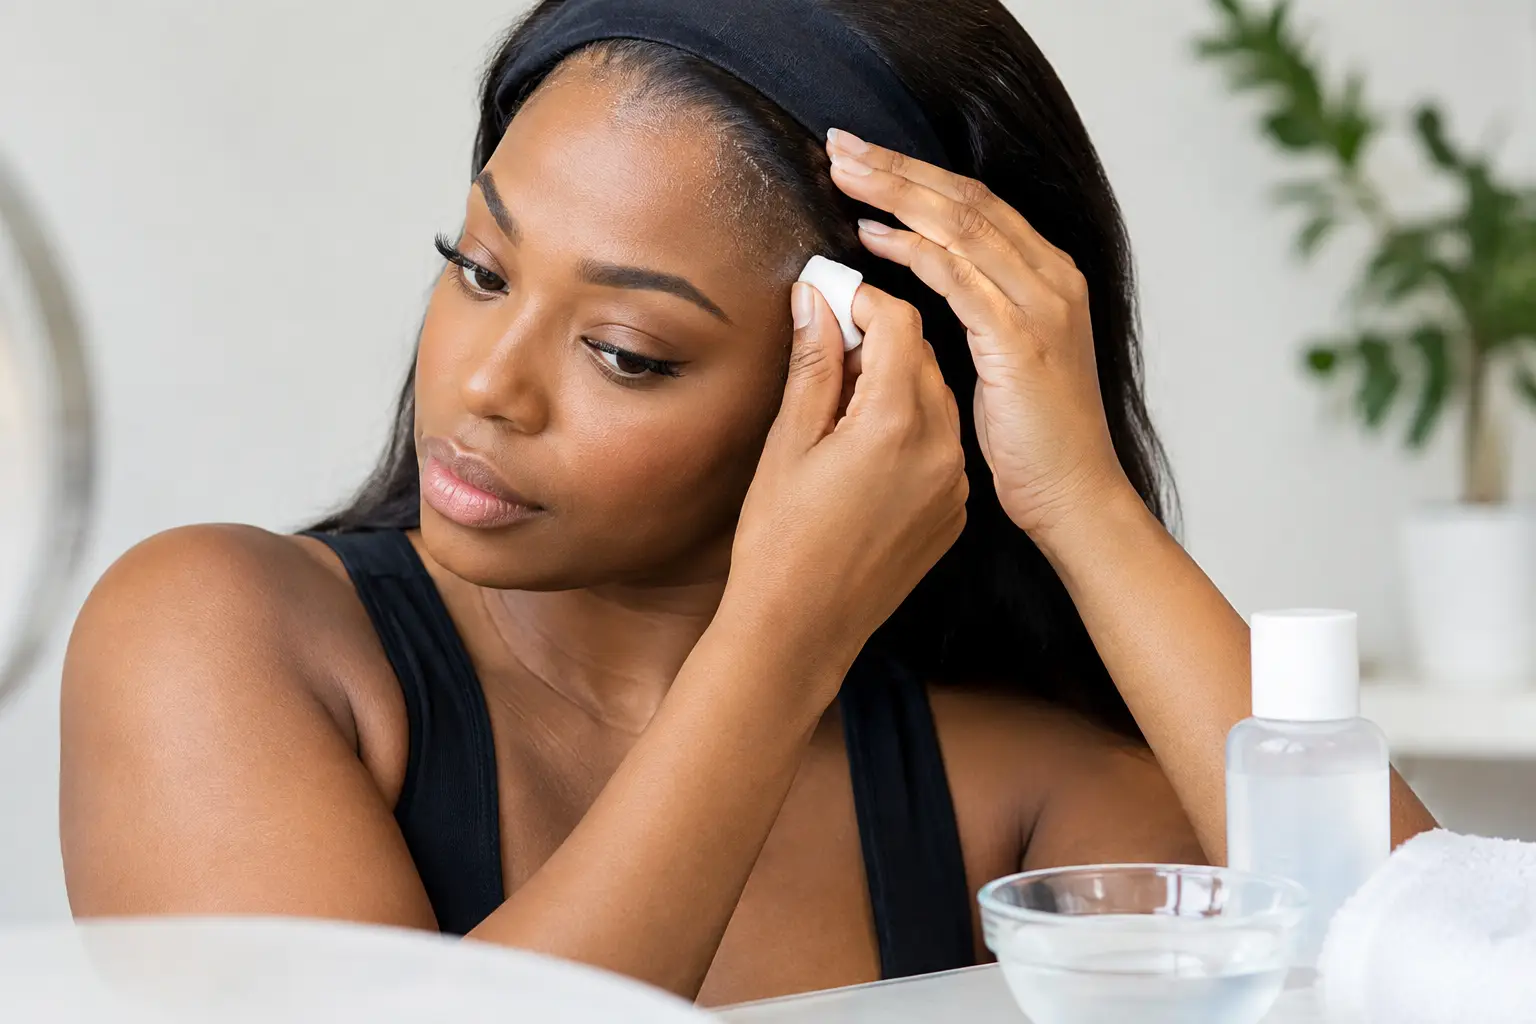
It is common to have a thin sticky layer left on the forehead, around the ears, or at the nape. Saturate a cotton pad with adhesive remover and press it gently against the residue for a moment. Then wipe in small, slow motions.
Avoid aggressive rubbing. The skin around your hairline is sensitive, and friction can leave it red or sore. If residue remains, repeat the process rather than scrubbing. Once the adhesive is gone, cleanse the area with a mild shampoo or gentle facial cleanser and lukewarm water. Pat dry with a soft towel.
Removing adhesive from the wig is just as important as removing it from your skin. Leaving glue on the lace can make future applications uneven, dull the lace appearance, and attract buildup.
Place the wig on a mannequin head or lay it lace-side up on a clean towel. Apply adhesive remover to the glued areas and let it work for several minutes. Use a cotton pad or soft cloth to lift the residue away. Work from the hairline inward and avoid rubbing the hairs themselves unnecessarily.
For stubborn tape residue, you may need a second application. Never scrape the lace with your nails, a sharp tool, or a brush. Lace is delicate, especially around a hand-tied hairline.
When the adhesive has released, wash the wig according to its fiber type. Human hair wigs can generally be cleansed with a gentle, sulfate-free shampoo and conditioned through the lengths. Synthetic wigs need products made specifically for synthetic fibers, since regular conditioning products can weigh them down or leave a coating.
Some household products are often suggested as quick fixes, but they can create more problems than they solve. Rubbing alcohol can be very drying on the skin and may affect certain lace materials or wig finishes. Acetone and nail polish remover should not be used on your skin, lace, or wig cap. They can damage fibers, weaken construction, and cause significant irritation.
Oil-based products may loosen some adhesives, but they can leave a residue that makes your next installation harder. They are not ideal for every wig or adhesive formula, particularly if you want a clean, secure reapplication. When possible, use a remover that matches your bonding product.
Warm water alone is also not a reliable way to release a strong adhesive. It may soften some gels, but it will not safely dissolve many glues or tapes. Trying to wash off an active bond can lead to pulling and tangling.
Adhesive caught in your edges can feel alarming, but pulling it out is not the answer. Apply a small amount of wig adhesive remover directly to the affected area with a cotton swab. Let it sit briefly, then gently slide the residue down the hair shaft with your fingertips.
Follow with a mild shampoo, focusing on the scalp and hairline. You may need to shampoo twice to remove all traces of remover and adhesive. Condition afterward to restore softness, but keep heavy conditioner away from your scalp if you plan to reinstall a wig soon.
If you are experiencing shedding, tenderness, persistent itching, open skin, or a reaction after an adhesive install, take a break from glue and seek guidance from a qualified medical professional. A glueless wig, wig grip, band-fall wig, or other lower-tension option may be a more comfortable choice while your scalp recovers.
A polished install should never come at the expense of your comfort. After removal, let your skin breathe before applying another adhesive, especially if you wear wigs regularly. Cleanse your hairline, moisturize lightly if your skin is dry, and make sure both your skin and lace are completely free of residue before your next application.
The right wear schedule depends on your adhesive, skin type, activity level, and the condition of your natural hair. Some clients prefer a few days of secure wear, while others want a daily removable style. There is no single best method – the best choice is the one that keeps your wig natural-looking and your scalp feeling healthy.
For lace that has become sticky, stretched, torn, or difficult to blend after repeated installs, professional cleaning, repair, or refitting can make a meaningful difference. Hair A La Mode can help assess the condition of your wig and recommend a secure, comfortable option for your next look.
Your hair solution should leave you feeling confident when you put it on and just as cared for when it comes off.
Find the best protective hairstyles for your texture, lifestyle, and comfort, with practical care tips for braids, wigs, twists, and low-tension looks.
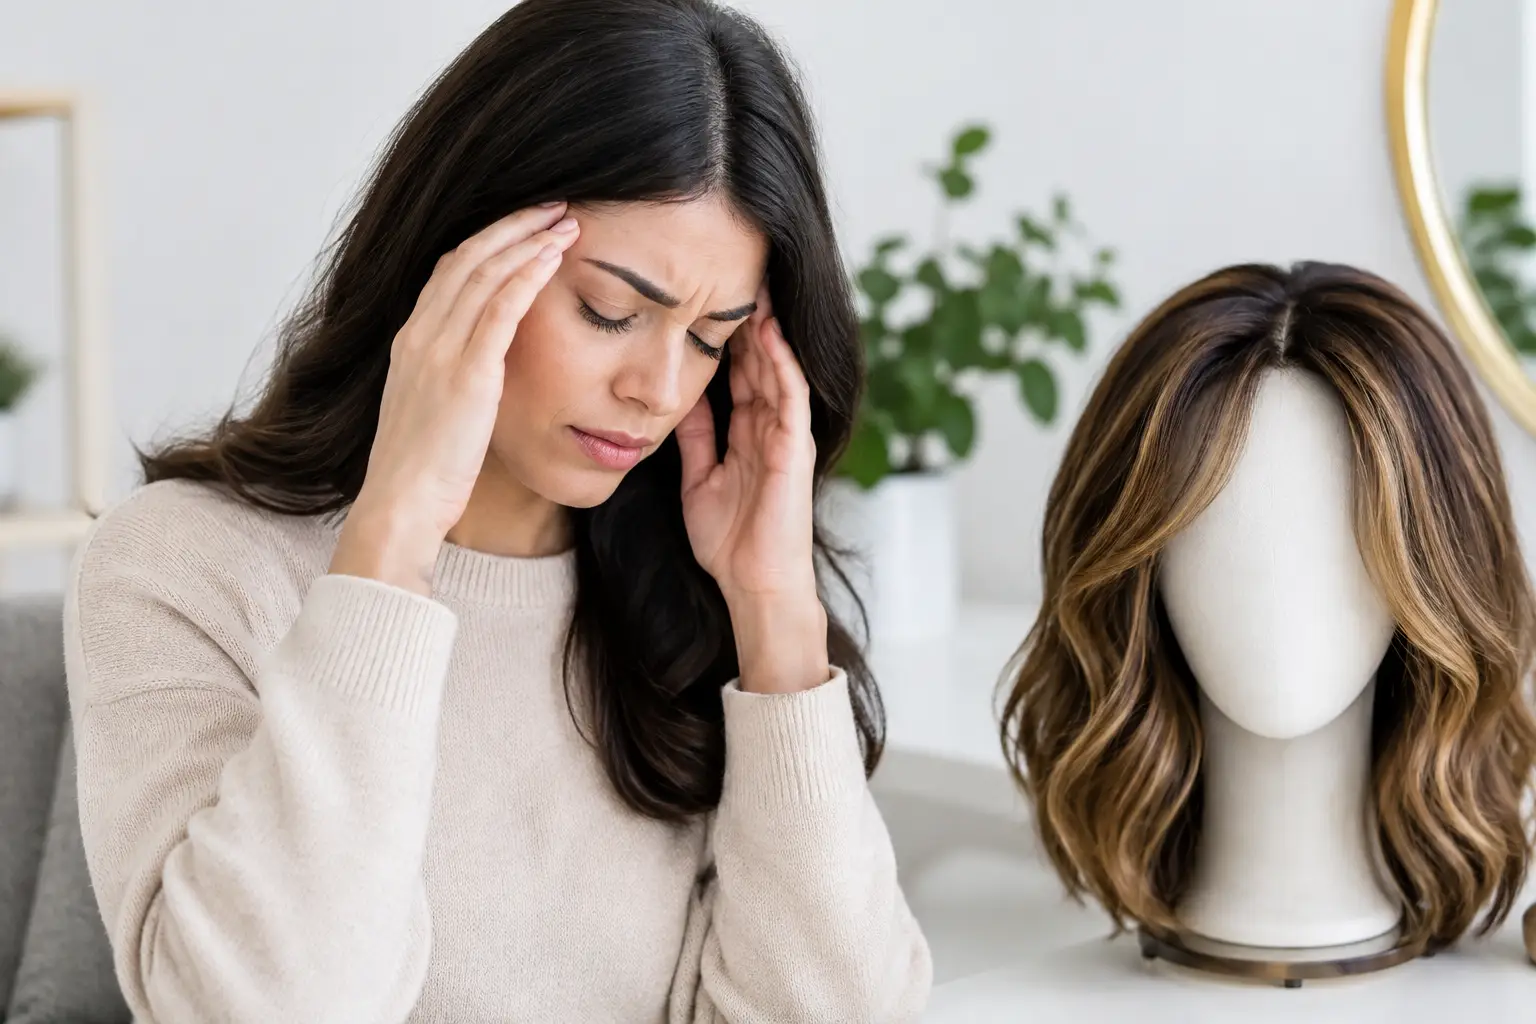
Do wigs cause headaches? Learn how fit, pressure, heat, and styling affect comfort, with practical ways to wear your wig pain-free every day with...
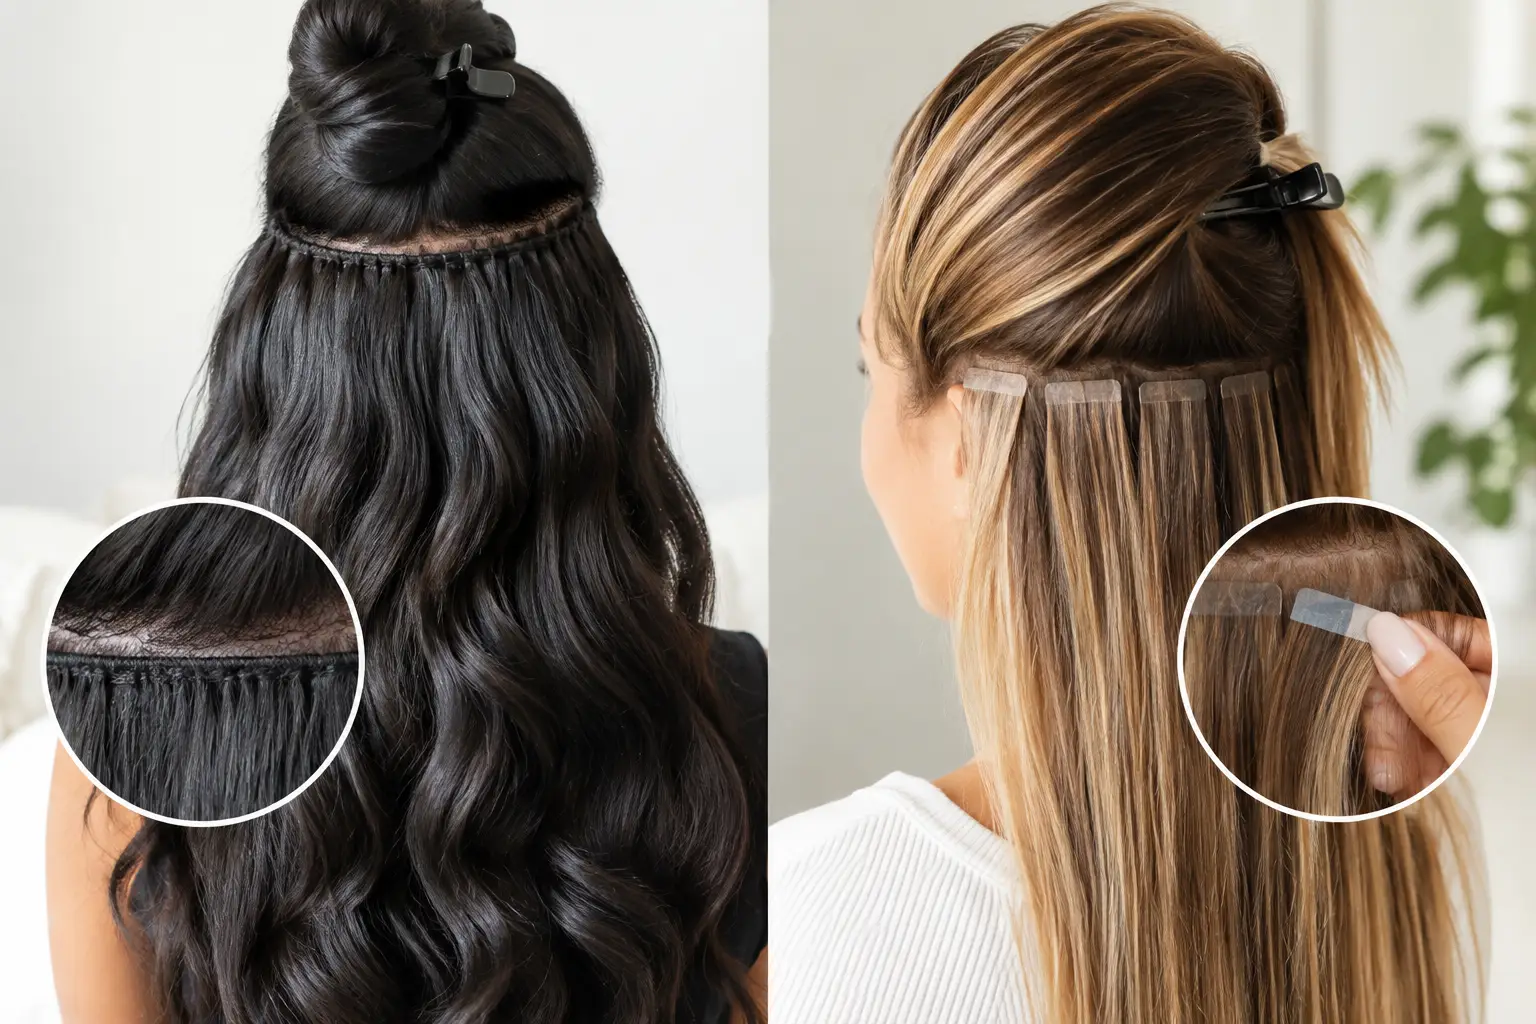
Comparing sew in versus tape extensions? Learn the differences in wear time, comfort, upkeep, cost, and hair health to choose your fit with confidence.
